
If you decided to create a social networking website and just getting started with PHPfox, you're in the right place. On this page you will find simple instructions on how to purchase a license, which hosting to choose and how to install PHPfox not being a specialist in technical area. Just follow the steps below and don't hesitate to ask questions in comments or contact us directly.

1. License
First step to start is to get the license. Please visit phpFox website and choose package that fits your requirements.
2. Hosting
If you don't have hosting solution yet, check phpFox hosting article we prepared.
However, you always can try with such providers as vpsnet, digitalocean, asmallorange, arvixe, siteground.
Regarding packages: you can choose simple shared hosting for start, but if you're planning to set up growing network with big amount of users, it's always better to choose more advanced plans (cloud, or dedicated servers).
3. Transferring files
After that, download phpFox source, open up your FTP client (you may use FileZilla) and upload all the files to the folder on your web hosting (simply drag files to FileZilla window).
Do not upload code folder itself, just the files that are inside it (so archive's folder contents should be uploaded to the root folder of your server).
Once all the necessary files are uploaded, you will need to modify permissions for some of them. phpFox recommends to have CHMOD 777 on all files and folders recursively before installation. Anyway, we recommend to set 755 permissions on all folders and 644 on all files after installation (recursively).
The main folder structure of phpFox is
- file/
- include/
- install/
- module/
- static/
- theme/
- favicon.ico
- htaccess.txt
- index.php
- robots.txt
Now, all the files and folders should be ready for installation!
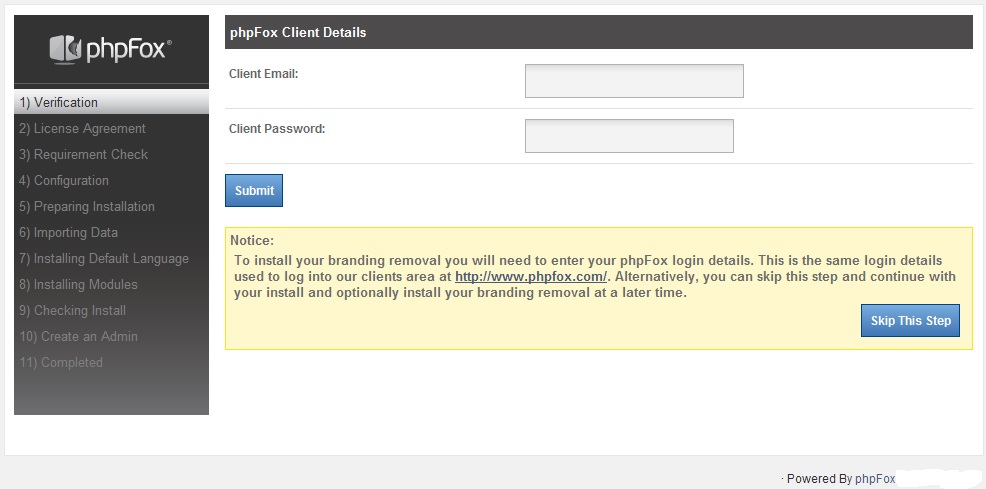
4. Installation
To start with phpFox script installation, in your browser go to http://yoursite.com/install/index.php and follow instructions on this page.
During the process you will need to enter database details. You can create database with database manager in your cPanel (or any other server administration software), or ask support to help you to create it. Usually you need to create user first, then create database, and assign user to this database (applying full rights on this database for your user).
5. Plugins installation
To install phpFox v3 plugins you can follow steps below:
- download its code;
- unarchive it and upload on your hosting all files from "upload" folder;
- after upload, go to AdminCP, then go to tab "Extension" and click "Import product".
It's some plugins for you:
a) http://www.socialloft.com/plugins/phpfox-plugins/friend-mass-comment-v3/
b) http://www.socialloft.com/plugins/phpfox-plugins/private-notes-for-phpfox/
c) http://www.socialloft.com/plugins/phpfox-plugins/scroll-to-top-phpfox-3-3-x/
6. Facebook login integration
If you want to add facebook login on your phpFox you can go to https://developers.facebook.com and register your web app (My apps -> Create new app). Just follow the steps on the Facebook Developers quick guide (remember that you need website application). Choose app's name and fill all necessary info on Facebook app's dashboard page.
After this, go to AdminCP -> tab "Extension" -> "Manage modules" -> "Facebook" and click "Manage settings".
Set parameter "Enable Facebook connect" to true and put your secret key and application id from Facebook Developer console into appropriate fields ("Facebook secret" and "Application ID"), then click "submit".
7. Mobile applications
If you need iPhone and Android applications for your phpFox based network, kindly check demo of mobile applications from phpFoxer, or get full info on http://www.phpfoxer.com/iphone-android-apps
You can order iOS and Android apps on http://phpfoxer.com/order-now. Just fill all required fields, then click "submit" and we will contact you shortly!

